

I've got a sweet little autumn tutorial for you today. Having seen this post on the Pillar Box Blue blog I'd been making to make some paper roses for a while. Meanwhile I'd been out leaf-gathering with Little Tomboy last week and we'd gathered lots of gorgeous red, russet and yellowy maple leaves. Loads of them. More than we knew what to do with really, I mean there's only so many leaf-rubbings you can do.

So I wondered could I use the maple leaves to make some roses. I had a bit of a look around on Pinterest and found quite a few tutorials, so I gave it a go. Turns out its very easy and also uses up loads of maple leaves - so much so that on Saturday afternoon I went leaf collecting on my own. Well ok I did have Pixie with me for company ......


Maple Rose Tutorial
You will need:
- Maple leaves (about 6 -7 per rose)
- Craft wire
- Scissors
- Florists wire (optional)
Directions:
1. Choose a nice red leaf for the centre of your rose.
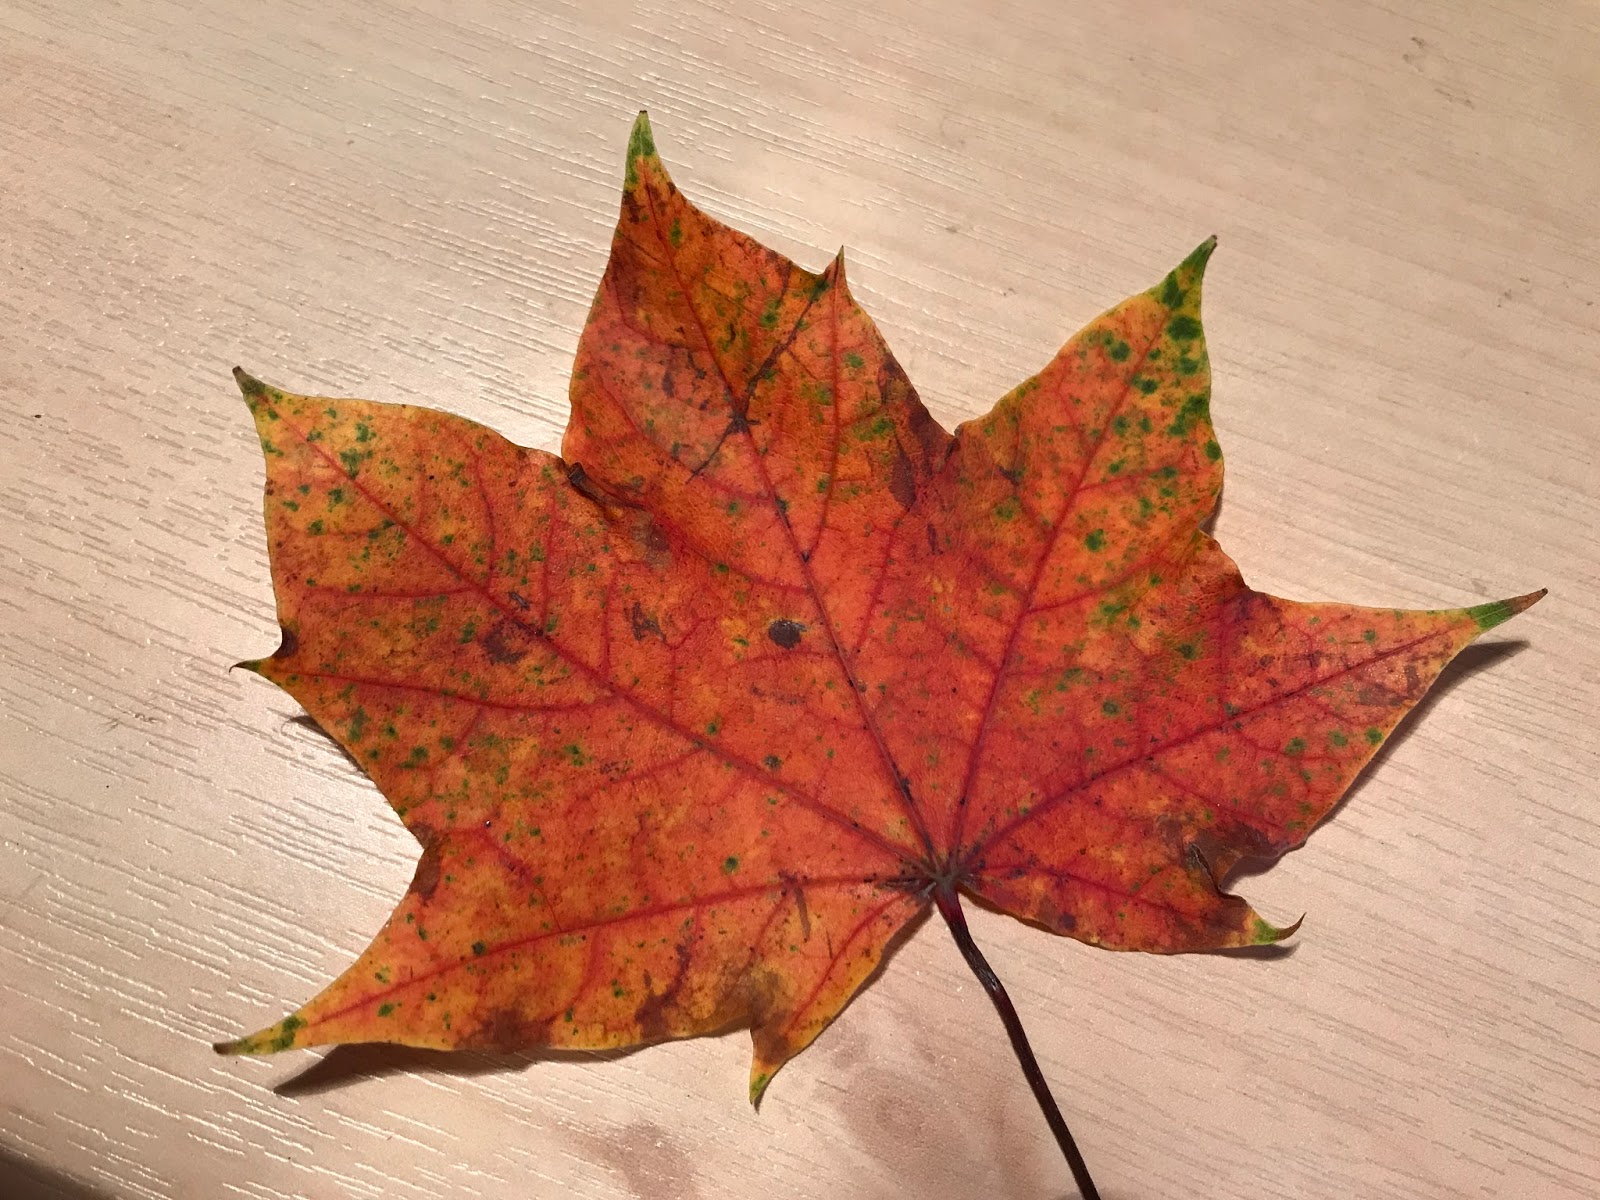
2. Lay out your leaf upside-down and fold over the tips

3. Start rolling your leaf very tightly at an angle pivoting around where the stalk joins. This forms the centre rose-bud part of your rose.

You want to roll it as tightly as you can. If the leaf tears or crinkles a bit, don't worry.

4. Repeat with another leaf or two until you think your rosebud is big enough.

Don't be afraid to get stuck in with the scissors if you want to neaten things up a bit.

5. You now want to start making the outer petals which aren't as tight. So lay out another leaf, but this time don't fold it, just place your bud onto it, and roll it, a little more loosely. At this point it will start to look a bit rubbish but stick with it and it will get better, I promise!


7. Grab a bit of craft wire - I just used some random stuff I've had for ages, no idea where it came from or what it actually is. Each rose needed about 5 inches. Wrap the wire round the base of the flower, tightly.

8. I wanted to display my roses in a vase so I used a piece of florist's wire as a stem - I used this stuff from Hobbycraft. I simply pushed it up through the base of the rose, it didn't need any glue or anything to hold it in place. At this point I clipped the stalks off too (after I took the photo lol!)

9. Finally, display your beautiful roses!

They look great displayed with some other autumn beauties ....

Or with some greenery ....

And of course you could use them without the florist-wire-stem in a centrepiece or on a wreath.

And they look even more beautiful the next day when the leaves start to curl.

Til next time,
Jillxxxx


