Friday, 18 April 2014

Easter Tree


Do you remember in one of last week's posts I mentioned the twigs destined for my Special Project ? Well, it's finished, so now I can tell you all about it - oooo goody! I've been just desperate to show you!

Upon my request, the Little People had collected loads of fallen twigs. I selected the twiggiest twigs (lots of the rejected ones would really have been classified as Sticks which apparently are much more worthy of collection, if you are aged 10 or under). The other main thing I needed was some kind of receptacle for standing twigs in. I had exactly right cheerful yellow vase for the job .... in went the twigs ......

... I'm sure you've worked it out by now:)

The twigs just sort of flopped around sadly so I put in a couple of inches of little pebbles from the garden (to wedge the bottom ends in), arranged the twigs artfully (twiddled around til they looked ok) and then wired them in position (amazing how you can find a use for a random bit of wire that's been lying around in the garage for years). Then I painted them with a tester pot of whitey-cream paint (that's also been lying around in the garage for years).....
... the children thought I was a bit mad and Mr EC didn't even dare to ask ......
I left the painted-twigs-in-vase ensemble on the windowsill to dry overnight. Look, there it is on my kitchen windowsill (actually that was just an excuse to photograph my daffodils - they just need to be photographed, don't they, such great colours).

Whilst that lot was drying I gathered a few more supplies - some wool, some ribbon, a crochet hook and a bowl of jolly plastic eggs ....

Do you like my bowl ? Do you Love it ? I do! My bargaintastic 50p charity shop find, it makes me think of daisies and sunflowers all mixed up :)

I wanted to make some covers for the eggs, and I decided to write my own pattern (whoop - go me). So I set to with my crochet hook and rustled something up (actually it took aaaages to tweak it til it was just right)

They didn't take long. Then I threaded them with the ribbon ...

I pondered for ages whether to embellish these with flowers, or buttons or something else, but in the end decided that Less Is More and that I like them Just The Way They Are. I'll post the pattern soon :) At least in time for next Easter :)

All that remained was the final positioning .... and .... ta-daaaa.....


My Easter Tree :) I'm so happy with the end result, not too blingy, not too overpowering. I know it's not an original idea, they are all over Pinterest and you can even buy them in the shops - but I love the fact that the Little People collected the sticks, that they watched me assemble and paint, and that I crocheted the egg covers with my own pattern. And yes, that is my flower garland in place too. All together such a springy Eastery happy addition to our fireplace :)

Thursday, 17 April 2014

Easter Holiday Fun


Gosh has it been nearly a week since I last posted ?! Where has that gone! I can't believe the Little People have been off school almost two whole weeks now, the time really has flown by in a whirlwind of parks, friends, bikes and food. And a tiny amount of crochet. I must admit I could easily find it frustrating not to have more time to crochet and blog, but in truth I've loved spending time with the children. I know that the time that they will want me with them won't last forever so I'm making the most of it :)

We went to various parks ...

... we played in the sand ....

... we built sand mountains ...

... we went to the fair and went on the swinging chairs ....

 ... and the zoomy round motorbike thingymajingy ...

... and I managed a bit of crochet whilst supervising from afar ...

One morning I took them on a children's First Aid course. Little Man was very reluctant, and I was a bit worried that I'd got it badly wrong, however they all had a great time. (He proclaimed later that it had been the best day ever - praise indeed!) They got to take part in question answering, saw a few videos, and acted in some role-plays - rather over dramatically in the case of Little Man who was pretending to be a patient with a cut, but acted like someone having a limb cut off with no anaesthetic (very funny, lots of giggling all round). Best of all there were crisps and biscuits at half-time... cappuccino and grapes for Mummy. Actually I tell a lie, best of all was the First Aid kit that they each received for attending the course ...

... Little Man is (rather-worryingly) desperate to use his ...

Today we started our 5-day intensive Get-The-Girls-To-Ride-Their-Bikes mission. Little Miss is capable but Very reluctant, Little Tomboy is extremely enthusiastic (in fact Desperate to do it) but has rubbish balance. They are currently aged 9 and 6, so Little Miss at least should by now be able to manage. So we had a few practises of wheeling yourself along without pedalling, and before I knew it she was just pedalling and doing it....."Mummy, I can't believe I am going to say this, but its FUN" Yaaaay!!!! 


That's a Big Thumbs Up from her then :) and 50% of the mission accomplished.
Little Miss on the other hand is still Very Wobbly even just wheeling herself along, so it's pedals off for her at the moment, and we'll give it another go tomorrow.

It's been busy and fun leaving precious little time for crochet or craft. I've managed to finish all the squares for the baby blanket I'm working on ...... you can see the last one in progress here ....


... phew ... and the other are all there in the tin, awaiting ends being dealt with. Really hoping to finish it over the weekend but there may still be too much fun to be had :)

Friday, 11 April 2014

Pancakes, Popcorn, the Park and A Project


The children have been off school for a week now and the weather has been marvellous :) It's been warm and sunny all week which means the children have been able to be out in the garden, on the trampoline, or with me, at the park. The picture above is the central green area of our road. We don't face onto it, but instead we are incredibly fortunate to face onto a massive field - "our field" - on which the children can play football or cricket, or go on their bikes. And I can supervise from a distance ......

..... as this is the view from my craft room! How lucky am I! Speaking of my Craft Room, it's taking shape nicely, not quite photograph-ready yet though, and probably not enough time to make it so until the children are back to school. I will keep you up to date though :)

Today the children were super happy when we had home-made pancakes for breakfast. I've found a fairly idiot-proof recipe, having tried and failed numerous times in the past. I just can't do crepe style ones, so instead I go for the puffier (and yummier if you ask me) scotch pancakes.
I use a recipe from this Nigella Lawson book. She strikes me as fairly reasonable so I'm sure she won't mind me sharing her recipe with you. I've written it out properly at the end of this post.
Basically you make a mix of dry ingredients that you can make ahead and keep in your cupboard. When you are in need of pancakey goodness you just weigh it out, add milk and egg, and whisk. You dollop it into a medium-hot fry pan ....
... and when tiny bubbles appear on the surface (if you look carefully you can see them in the picture above) then you know its ready to turn over to the other side....
.... which should be golden brown mmmm yummm!!! Cook for the same amount of time on the other side..... and then get ready to eat ....
.... we like them with maple syrup, cream (the squirty variety proves most popular in our house) and bananas, raspberries, or strawberries. Only 3 or 4 can be cooked at a time, and then they get eaten before the next batch are ready, so instead they can be kept warm on a plate under a low grill until they're all cooked. We can then all sit down to eat them together - they taste so good they are gone in seconds - they really are melt in the mouth, and with fruit it counts as 1 of our 5 a day - yay!

After breakfast we took a trip out to run some errands, and then finished up at the park...
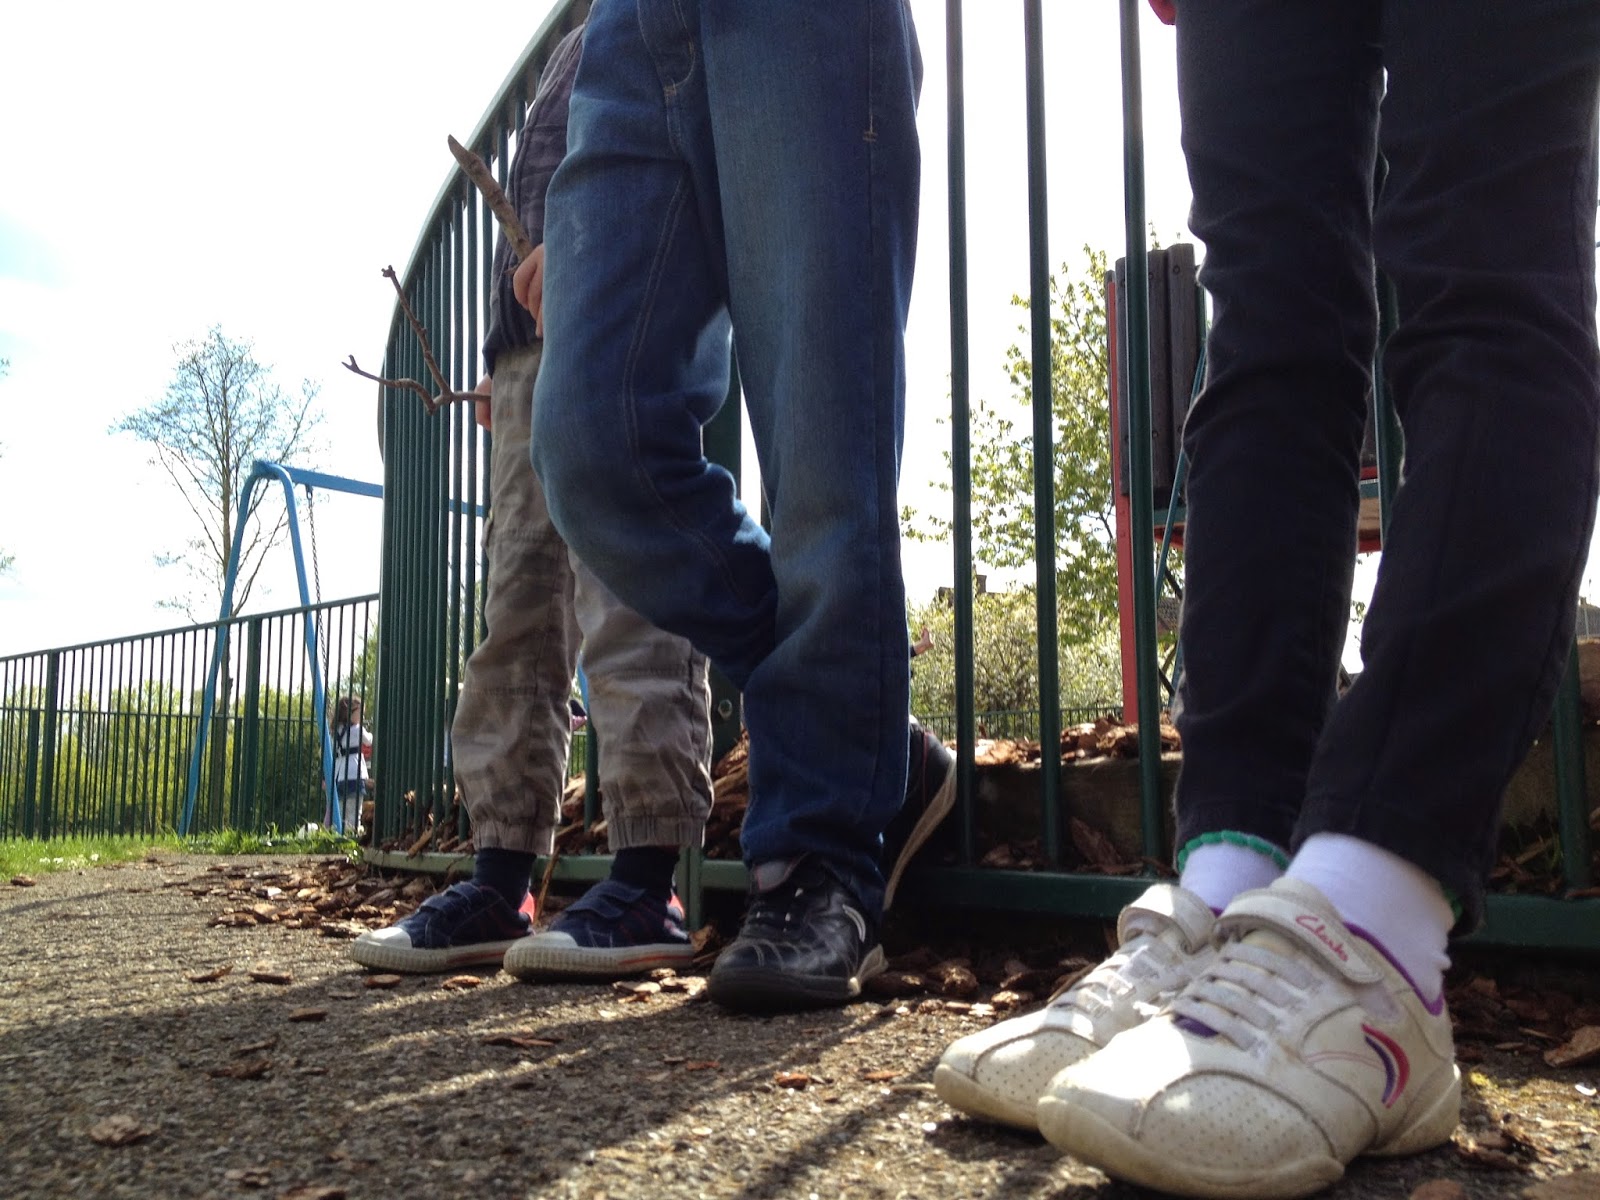
..... gosh the children look like giants there - they really are growing up so fast - but its lovely that they are still happy to play in the park, such great friends for each other. After lots of hide-and-seek and "It" type games we went for a mini nature ramble in the adjoining woods. The children found lots of Interesting Things - a completely perfect abandoned snail shell ....
..... a bunch of feathers .... hopefully their owner got away in one piece ....
... and some pretty petals picked for Mummy .....

We rounded the trip off by bringing home ice-creams for them and a frappe for me ....
....if there's one thing better than a hot frothy cappuccino, its an ice cold frappuccino :)

It seems to have been a treaty-food-oriented day, because in the afternoon we watched a movie with popcorn .... oooo corn - another one of our 5 a day ??? I love our popcorn tubs - what do you think .....
.... they are melamine (or something similar), and so they're completely reusable. I got them a while back from a gorgeous shop called Shirleyz at our local craft village Holme Grange .... eating popcorn out of these makes DVDs at home feel just like being at the cinema :)

One final thing for today ..... during our mini nature ramble was that I tasked the Little People with a Special Mission - to find some twiggy sticks for a Special Project ....
...... Mission Accomplished ...... and you will have to tune in again for details of the Special Project :)


Scotch Pancakes
For the dry pancake mix:
600g plain flour
3 x 15ml tablespoons baking powder
2 teaspoons bicarbonate of soda
1 teaspoon salt
40g caster sugar

Mix all ingredients together and store in a jar until you are ready to make the pancakes.

For the actual pancake making:
150g dry pancake mix (from above)
1 egg
1x 15ml tablespoon melted butter
250ml semi-skimmed/full-fat milk

Whisk all the ingredients together to make a smooth batter.
Heat up your pan and grease slightly (I use spray vegetable oil, melted butter probably tastes even better)
Drop in a large tablespoon or so for each pancake, you can do 3-4 at a time.
When tiny bubbles appear on the top surface, flip the pancakes over.
Cook for the same amount of time on the other side, and then they are ready to eat!
Keep warm in warm dish, grill or oven until all of them are done.
Each 150g (ish) of the mix makes about 12-15 pancakes.
For my family of 5 (inc 2 hungry chaps!) I make a double batch which is about 25-30 pancakes. That's how popular they are :)
Have fun!

Monday, 7 April 2014

The Magical Miracle of Blocking


When I first learned to crochet (last year!) I had never heard of blocking. I read a post on the facebook page of my local crochet group The Barkham Hookers (fab name or what) run by the lovely Gaynor White over at Confessions of a Barkham Hooker. The post said something like "My piece is finished except for blocking.". Eh ? What ? Pardon ? I mean, when your piece is finished it's, well, finished , no ? NO! You can see above a cushion cover I made that's "finished". Its lovely (well, I think so) but a bit curly and wrinkly I'll admit. And that is where blocking comes in.
Here's a picture of this cushion cover After Blocking.....
.... can you see the difference ? See how much flatter, smoother, less curly and generally more gorgeous it looks ? Aaaahhh lovely :)  Blocking really is a mini magical miracle, and never fails to amaze me :)

So here's a little tutorial on blocking. It mainly describes how to steam block, but mentions wet blocking as well. Have a read to see what I mean.

Steam Blocking
What you'll need:
- your crocheted piece (obviously)
- a steam iron (or water sprayer for wet blocking)
- an ironing board or foam blocks (something like these)
- pins (may need to be rust-proof - read below)


Here's one of my flowers from my rainbow flower garland ..... very pretty, but quite curly round the edges ...

First of all you need to pin our your piece out on your ironing board or foam blocks .....
... obviously pin it into the shape you want it to stay in. Sticking the pins it an angle as shown helps it stay is position for the next bit.
Now, get your iron, fill it with water, and set it to medium/high, and full steam. When it's hot, you want to (and this is important ) hover it over your piece, about an inch away from it - don't actually touch it with the iron, you just want to blast loads of steam at it. Use the "blast loads of steam" button if your iron has one.

Leave the piece pinned out to dry (or until you get fed up of waiting - me ? impatient ? er ....) .... and when you finally remove the pins ...ta daaaaaaa .....
...look! Wow!! Its stays flat. Perfectly, beautifully, amazingly flat. Who knew a bit of steam could work such magic ?!

I tell you, the first time I did this I was speechless (this is rare). I couldn't believe the incredible difference it made to whatever it was that I had made and which I already thought was pretty good anyway! Yes, its s tiny bit of a chore, but sooooo worth it.
Let's have another look at the difference it can make.... can you see which flowers have been blocked and which not ? .....

 ..... yes, the green and yellow ones have been blocked and are lovely and flat, the orange and yellow are a bit curly, and are calling out for the magic blocking treatment. Now of course there is no crochet law that says you have to block, indeed some of you out there will prefer the curly rugged natural edge (feel like I'm talking about men now lol), but the perfectionist in me likes the polished flat smoothness of the blocked item. Very satisfying :)

A few final words to bear in mind .....

I've seen lots of places say not to have the iron too hot, or not to block acrylic-yarn pieces, but I've never had a problem.
You can also wet block - the idea is similar, except instead of blasting steam at it, you spray the item with a water sprayer and then leave to dry.
I only ever steam block and have had success with acrylic, acrylic-wool blends and cotton.
I never use very delicate fibres like angora or mohair (they're not really my thing) but its probably best to err on the side of caution and wet block rather than risk damaging the fibres with heat.
If you are remotely worried about the effect of heat, or steam or wet blocking your item, crochet up a small swatch or sample piece and do a test.
If you're going to leave the piece pinned out to dry, make sure your pins won't rust! How upsetting would that be, to ruin your thing of beauty with nasty rust marks.

Now off you go, you good hooker you, and get blocking!

Easter Fayre


The Easter holidays are in full swing, and we've packed in loads of fun already - baking, running, puzzle-building, and of course some crochet therapy :) My flower garland is taking shape nicely as you can see.

This afternoon we walked out to one of our local parks, where our school's Easter Fayre was being held. Unfortunately it was a bit damp and drizzly, but that didn't stop us! Not with the promise of sweeties to win, and possibly even an Easter egg :)


We visited the glass painting stall, run by my friend Helen of GladysGlass. I've been on one of Helen's glass painting workshops, a really relaxing yet inspiring way to spend a few hours :)
Anyway, at the Fayre Little Miss and Little Tomboy had a go painting some wired jars .......
...... which can be used as lovely little candle holders for hanging in the garden (or maybe they will hold marbles, or pencils, or beads, or sweeties, or who knows)


We won Easter eggs on the tombola .... (must confess we did have to persevere to win 3 eggs and avoid a mutiny)

... and, amazingly we won the teddy on the "Guess the Teddy's Name" stall .... the lucky name we chose was Chocco :) Isn't he gorgeous ?

 
I treated myself to this sweet pink bird feeder. Not entirely sure if the pink will attract the birds, but even if they aren't interested , it will still look colourful in the garden.....
 
... that's it next to my Mother's Day flowers which are still looking lovely :)

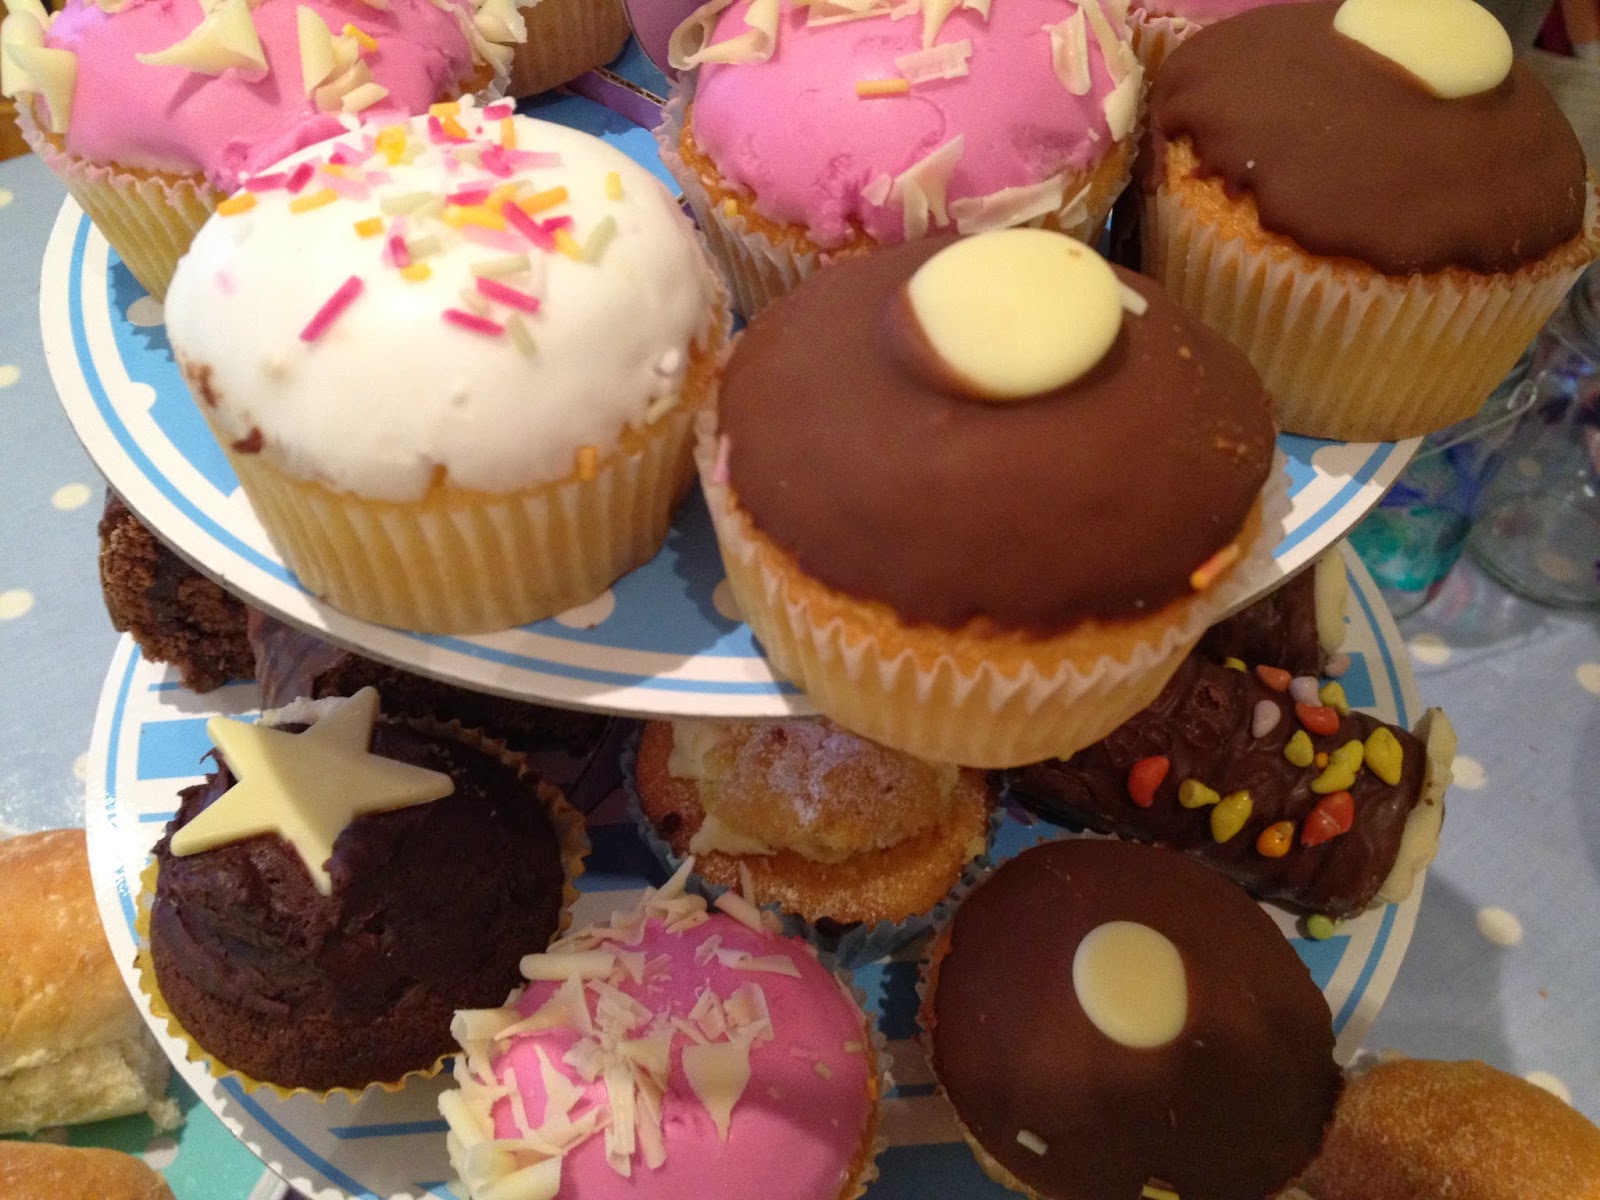
Finally, it was time to draw the raffle - Little Miss and Little Tomboy helped draw the winning tickets - and  - I promise it was not a fix - but - I won a bottle of bubbles - hurray! Cheers! We were just leaving when the teachers running the cake stand called out to us and practically forced us to take home a tray of cakes going cheap as it was the end of the afternoon. So it was Afternoon Tea for dinner ......


Yummm! Sometimes picky finger type food is just the best don't you think ? A bit like a mini-party, and of course has the benefit of being so simple to put together and minimal clearing up afterwards :)
Speaking of which, I may have go and tidy up another cake or two ....

Saturday, 5 April 2014

Little Flowers

Hip hip hooray, hip hip hooray, The Easter holidays start today :)
I spent mt last child-free morning mooching round craft shops, and bought, yes you guessed it, more wool. Well, I spotted colours I didn't have already so obviously I HAD to buy them, in case, you know, um, er, ..... .... I think my wool stash has reached some kind of critical mass, I really have to sort out storage for it. So that's my plan for the weekend.

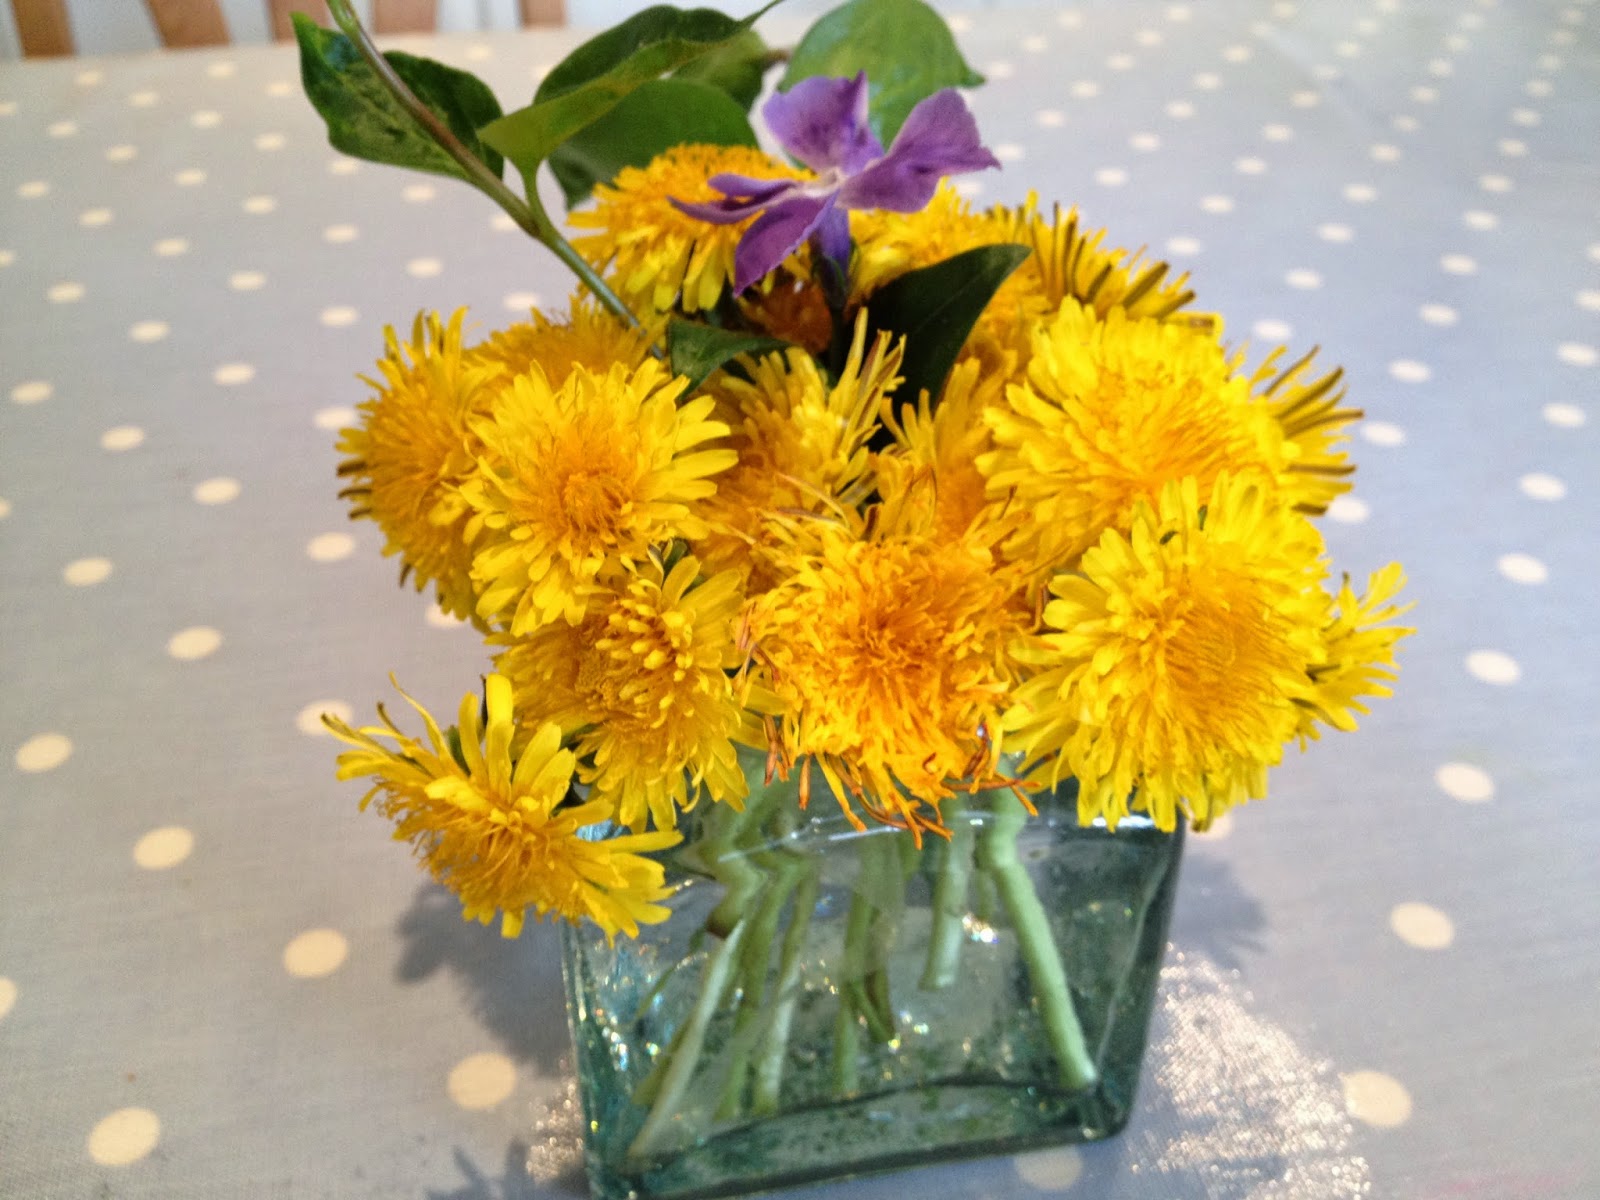
On the walk back from school Little Miss worked very hard selecting just the right dandelions with which to make a mini bouquet, which she presented to me when we arrived back home :) So sweet :)
It really is the simple things that make me happy :)
On my charity shop browse the other day I had found a lovely chunky square glass jar, with a cork stopper, destined for my craft room, and to store ribbons or bobbins or something. However it was still empty and Just The Right Size, so in went my little posy ....

Speaking of little flowers, my pile of crochet flowers is growing.....here's a little peek ..... more over the weekend on those!


As it was an early finish for the children today, we decide to do a spot of baking - banana muffins to use up the gone-brown bananas that were lurking in the fruit bowl.
I've written out the recipe at the end of this post. My oven burns most things (really, it is the oven, it isn't me, honestly) and yet I manage to make these pretty well. Well they all get eaten, put it that way!

So the girls donned their aprons .....

.... and we got all the ingredients out ... only to find there was no sugar - aarggghhhh ...... so I made an emergency trip to the corner shop.... after all, the aprons were on by this stage, so there was no going back ....

 Once the ingredients were all present and correct, the Banana Squidging team got to work ....

.... everything was put in a bowl and stirred extra well .....

.... and spooned into the muffin cases ....

... while the muffins were baking in the oven, the girls got to the best bit ..... licking the bowl ....

 .... and shortly after they were ready ......mmmmm.......

A perfect end-of-school-start-of-Easter-holidays treat :)
We have 5 left for tomorrow, so I make that 1 each, unless we make some more .....

Here is the recipe, it is so simple, give it a try and let me know how it turns out :)


Banana Choc-chip Muffins
(makes 18)

Ingredients
3-4 soft bananas
pinch of salt
6oz (170g) melted butter
1 teasp bicarbonate of soda dissolved in 1 tbsp water
6oz (170g) caster sugar
1 egg
9-10oz (270g) plain flour
large handful chocolate chips

Method
1.Preheat oven to 160 degC
2. Grease muffin trays and line with muffin cases
3. Mash up the bananas
4. Mix all ingredients together and stir until evenly mixed
5. Place desert spoonful in each muffin case
6. Bake for about 12-15 minutes. Muffins are ready when a skewer comes out clean.