I've been looking forward to writing this post with a mixture of
fear, trepidation and total excitement!
I've finally, only 2 days late,
finished my Mum's Mother's Day cushion. Honestly, it's a very simple
piece but took me ages to finish, mainly because I hand-sewed some bits but also partly because I kept
stopping to take photographs so I can write My First Tutorial - hurray!
Before we get to that though, let me share with you my Design Process, otherwise known as Colouring In.
I tried a few different designs but my Design Team (Little Miss and Little Tomboy) reckoned #2 was the best. They also had a go at creating their own individual designs too.....
.... so I now have a couple of other cushions to rustle up :) I love how different they are! And how colourful! Which is a good time to point out that my Mum and Dad's living room is mainly grey, black and a reddish shade, that's why Mum's cushion is monochrome. I quite like the simplicity of the monochrome but am looking forward to crocheting up the zingy ones for the Design Team!
Anyway, on with the tutorial.
Envelope Cushion Cover Tutorial
I'm going to show you how to take your large crochet square and transform it into a cushion cover - it's a sewing tutorial. I won't cover the how-to of the crochet itself, mostly as I didn't photograph any of the crocheting bit, plus it's not my pattern - as mentioned previously its
this shell-stitch pattern from an old issue of
Let's Get Crafting: Knitting and Crochet magazine.
I decided to make the cushion a simple envelope style, with a single button fastening.
Now, if you were sensible, before you start crocheting, you would find a cushion pad and then crochet a square roughly the same size to fit it. I however was not sensible, I jumped straight into the best bit - crocheting - produced a lovely square and then thought AH - what cushion will fit this now ???!!! Luckily I found one lying around the house that was Just The Right Size.
Once you have your crochet square and your cushion, you will also need:
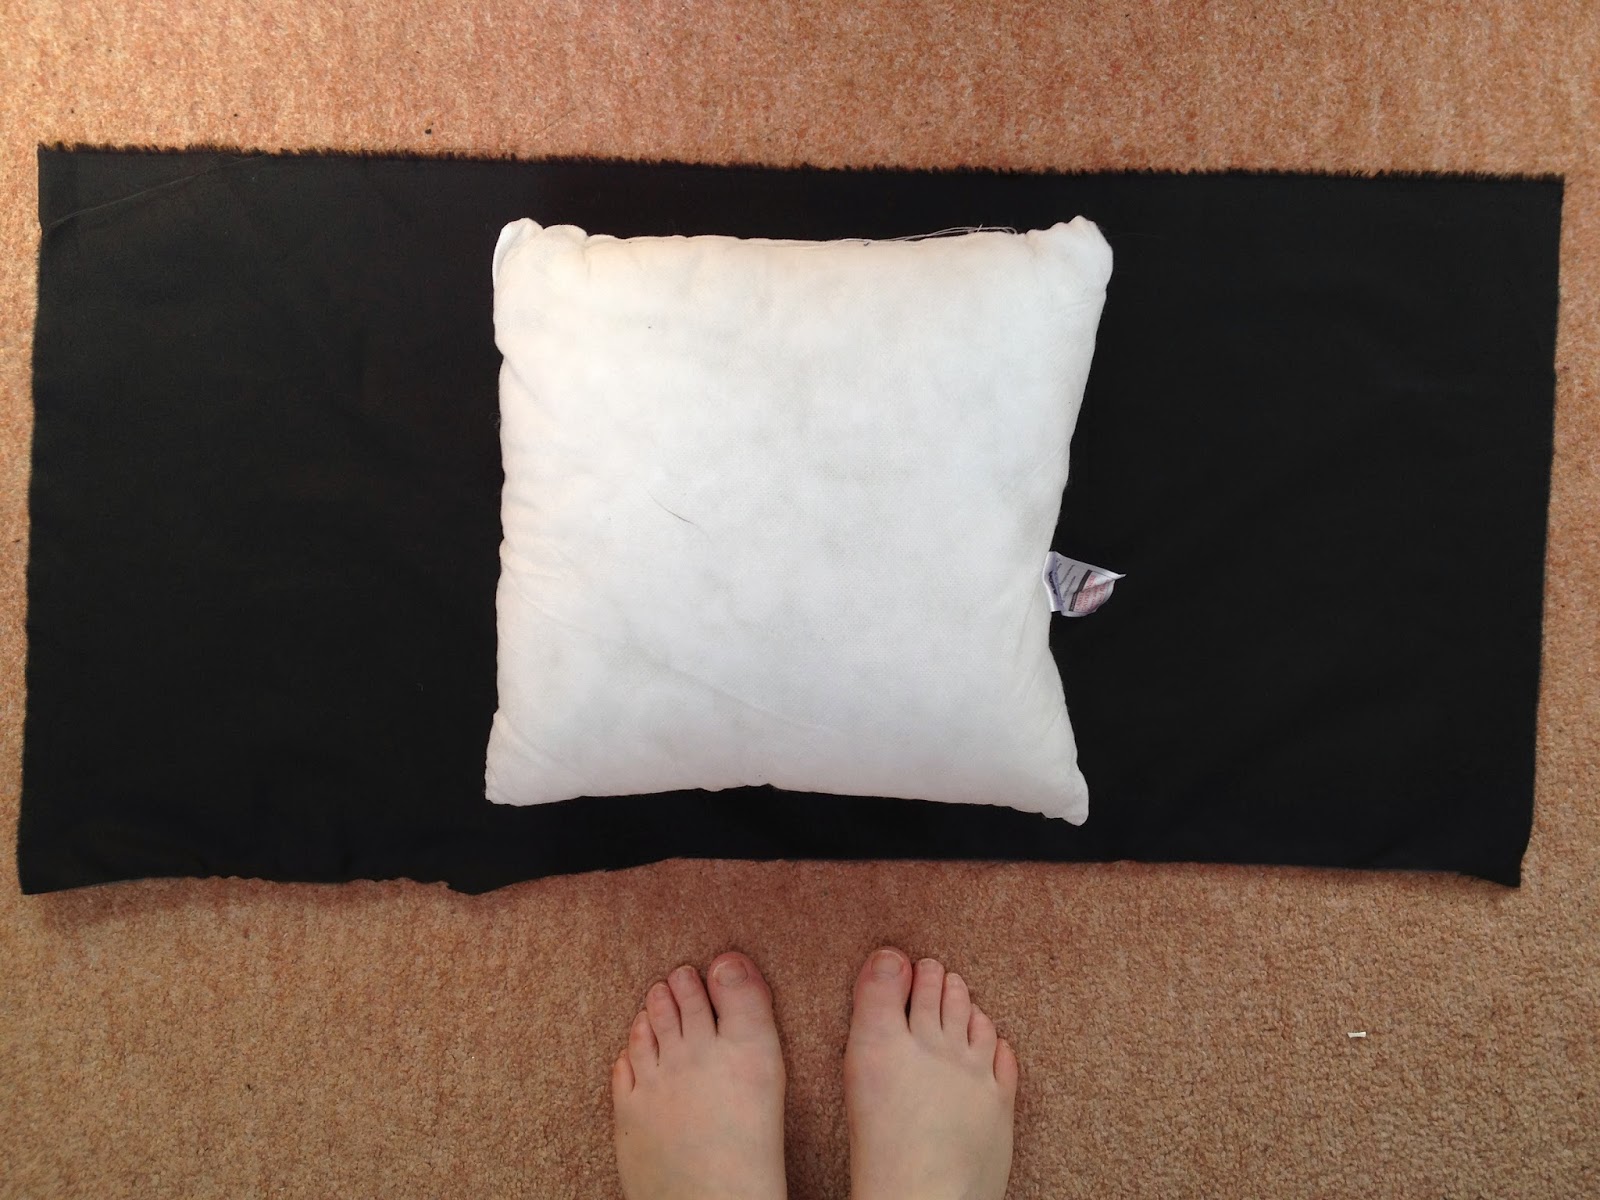
- a piece of material that measures about 5cm wider than your cushion, and twice as long as your cushion, plus about 10cm extra on the length for hemming. So say your cushion measures 20cm by 20cm, your material would be about 25cm wide by about 50cm. You can see mine laid out in the photo above
- suitable colour thread
- needle and pins
- a natty button (optional but tarts it up a bit)
- sewing machine (optional but makes it a lot faster)
- an iron for pressing (optional but makes it neater)
On each of the short sides (i.e the ends) of your material, fold over about 1 cm and press, then fold again about 3cm, pin, and press - as shown below.
My material is plain black so there's no right or wrong side, if yours
has a right side then you want to be turning the hem in towards the
wrong side, so that the right side looks nice and neat. Hope that makes
sense. In my photo above you are looking at the wrong side.
Sew straight along these short ends and remove pins: each short end is now nicely hemmed.
Now, turn your material over so it's right side up.
Fold over the short ends towards the middle, right sides together, so that the overlapping part lays down the middle. Your wrong sides will be showing again now, and you can see the hems (you will turn it inside out in a minute to make the right sides show). Make sure that when its folded over like this that it's roughly the same size as your cushion. Adjust how much it's folded by if necessary.
Here's how mine looked folded over in the photo ..... (and remember its the wrong side you can see)
Pin along the unhemmed sides, as shown above, then sew along both these sides. Don't worry about the rough edges on these hems, they'll be hidden inside the cushion. Once you've sewn along both sides be sure to take out all the pins.
So now you should have a nice square shape with a flap that opens, see ......
Turn the whole thing inside out, and make sure to push really well into the corners to make them nice and pointy. If you have thick material this can be tricky, and using a crochet hook (or a chopstick) to push the corners out will really help.
Now you have a lovely right-way-round pointy-cornered-flap-opening cover for your cushion. And hopefully the cushion and the cover are the same size more or less...
At this stage it's tempting to shove the cushion in and enjoy its plumpitiness, but tryyyyy and wait until you attach the crochet. That way you will get maximum impact!
Take your crochet square and position it over the non-flap side of the cushion cover. Pin it into place and sew it on. You could probably machine-sew this part for speed, but I didn't want any stitching visible, so I over-sewed by hand all round. I was able to gently put each bit of the edge in just the right place then too.
Once all the sewing was complete all that remained was to add a label and a button. You could skip these parts, the folded over flap is enough to conceal the cushion-inner, but I think a button finishes it off nicely, with a label giving it an extra little something.
In my stash of craft bits and bobs I had some little fabric labels that came free with an issue of
Simply Homemade magazine. I hand-sewed one onto the corner of the back of the cover....
.... I hand-sewed a button loop, along the centre of the back flap, (which I was very pleased with as I hadn't done that before). I used a nice little
how-to make button loops from ysolda.
.... and then I hand-sewed on a button.
And then for the moment of truth. .....
Would it fit ....??
It's not looking good ......
...........please let it fit .............
...... hurray!!!!!!! It fits!
Look at the front view ....
.... and how the finished cushion appears compared to the original design ......
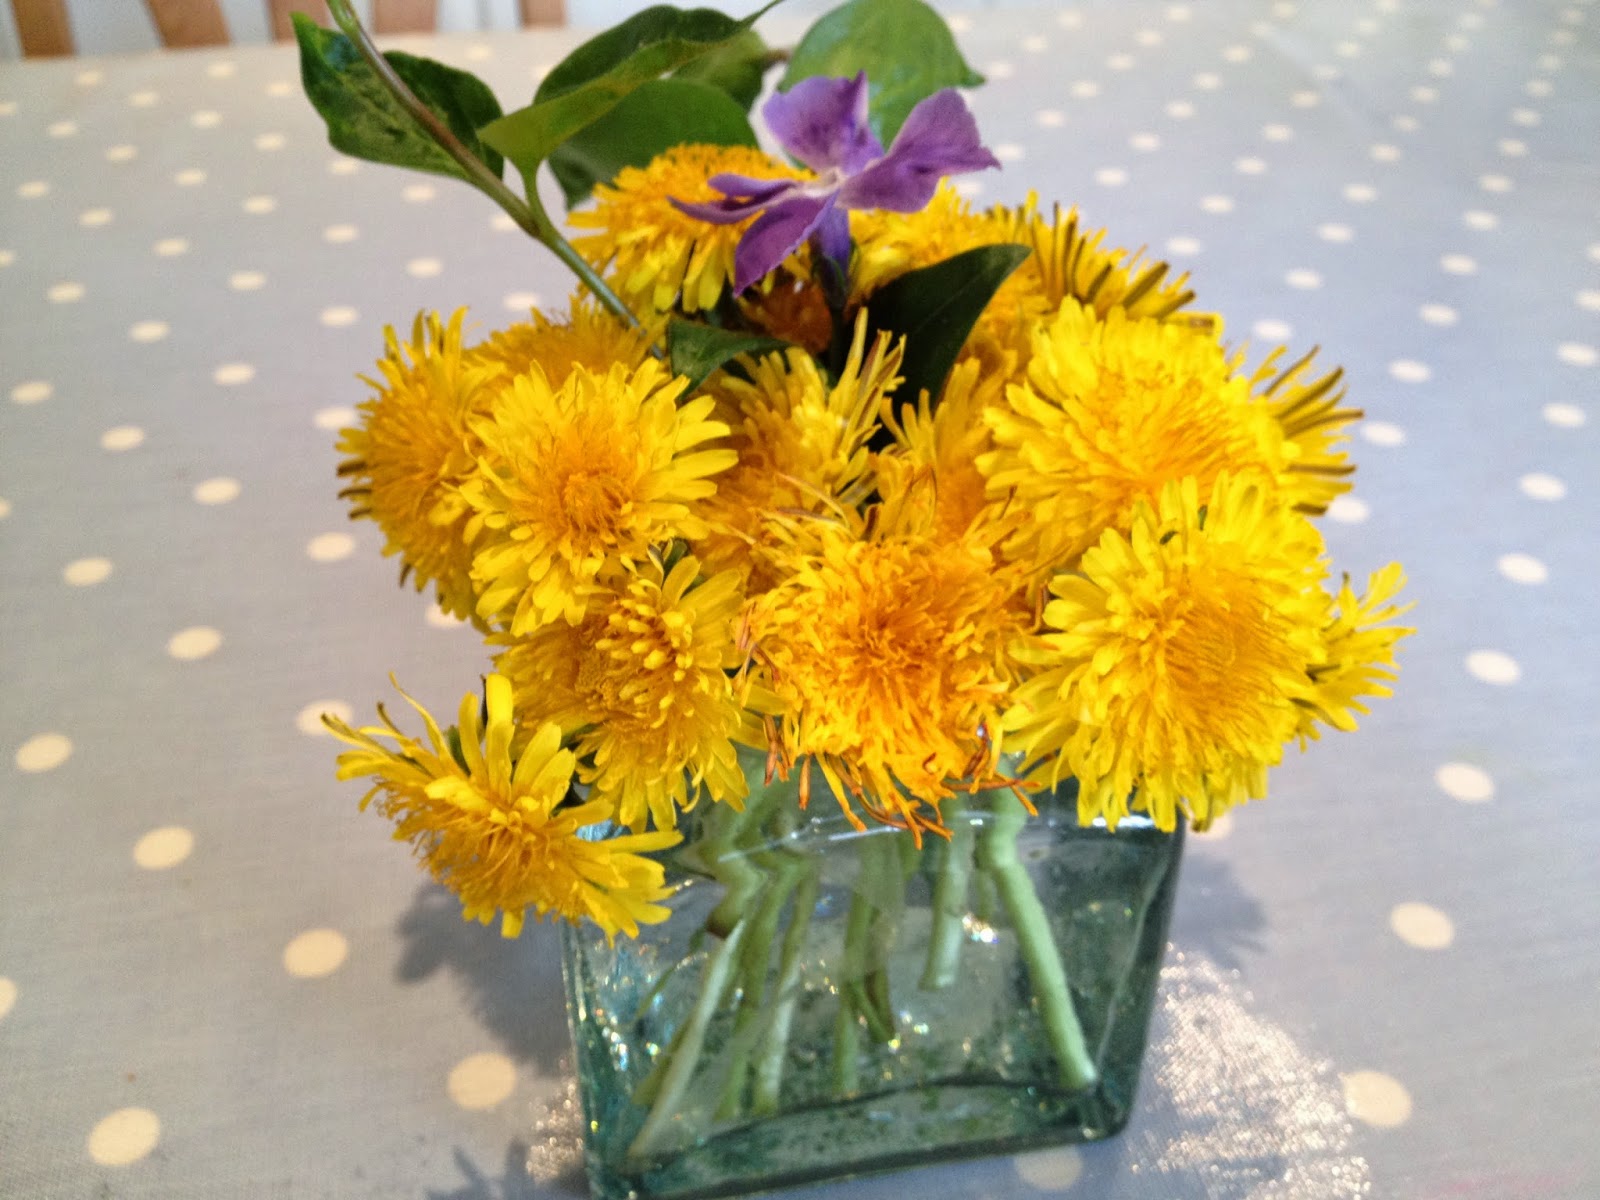
.... and how invitingly squishy it looks on a cosy chair with my favourite magazine and my gorgeous Mother's Day flowers .....
I hope you find the tutorial helpful or at least mildly interesting!
I'm really really pleased with my Mum's cushion. I know my Mum will love it too so I'll be popping off to the Post Office tomorrow to send it on its merry way to her in Northern Ireland. Better late than never!